PHILIPPE BOLTON
HANDMADE RECORDERS & FLAGEOLETS
ADVANCED BLOCK ADJUSTMENT
Warning : do not carry out any modifcation to a recorder block without having learned how to do it beforehand. If badly done this could be dangerous for the sound quality of the instrument.
The structure of the recorder's block
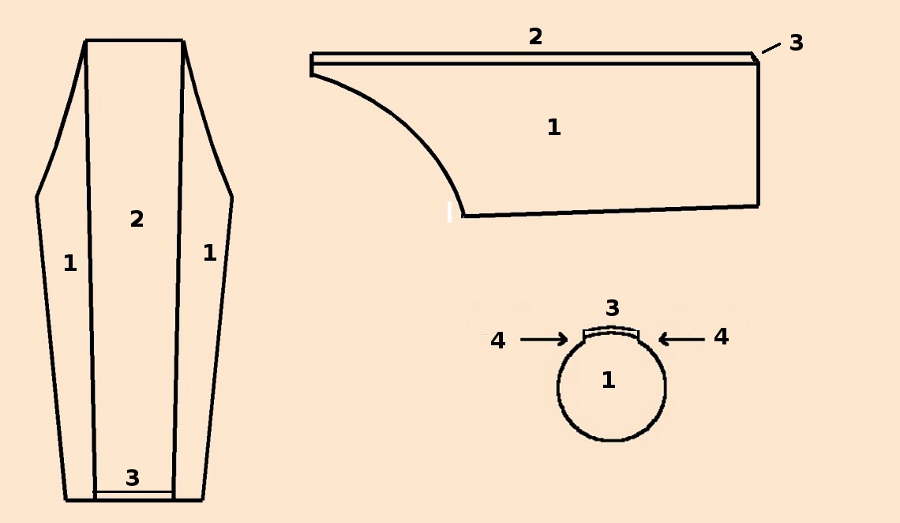
Before undertaking any adjustment to the block it is important to understand its structure. It is made up from one single piece of wood, but it has two distinct parts:
- its body, which is normally conical, but can be cylindrical in some industrial instruments
- the top, which protrudes, and plays an important part in directing the air stream towards the labium. It is usually larger at the entrance than at the exit. The adjustment of its surface can be very critical.
|
|
Instructions for removing the block from the recorder can be found here
|
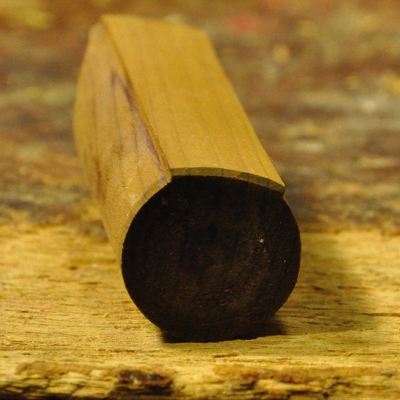
The top of the block is slightly concave lengthwise  and,
crosswise, it should have the same curvature as the labium and,
crosswise, it should have the same curvature as the labium  In some recorders it can be flat, if the windway and labium are made in this way.
At the inside end there is a small chamfer, about 1 mm deep, which plays a very important part in stabilising the sound and the speech of the instrument.
It must under no circumstance be modified without a valid reason. Any mistake here can be disastrous
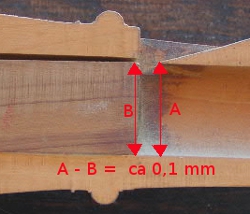
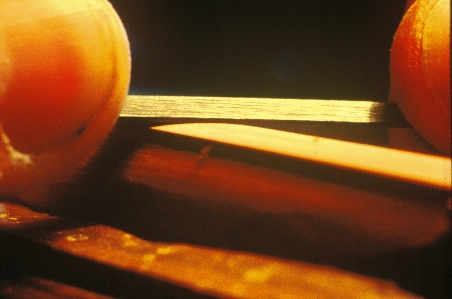
The chamfer is visible in the picture on the left. The curvature of the block surface should be identical to that of the labium, under which only a thin stream of light should be visible when the block is in its proper position, as in this picture: 
|
| In an alto or treble recorder the top of the block is usually set about 1/10 mm below the edge of the labium. |
|
The recorder's block is constantly subjected to moisture when the instrument is played. This can make it swell and expand upwards, making the windway smaller and
upsetting the direction of the airstream. The sound can then become somewhat stifled and the speech of some notes more difficult.
Another phenomenon can also occur. This is "compression shrinking", which happens when the block cannot expand, being surrounded by harder wood. In this case it becomes compressed, and
shrinks when allowed to dry out in spite of the fact that it did not expand. Recorders that are set aside after intensive playing can suffer from this.
It is possible for a player to adjust an instrument's block himself in case of an emergency, but this implies having mastered the different techniques beforehand. Do not experiment on your favourite recorder without understanding exactly what you are doing!
How to modify the block's height
To make it lower
To lower a block that is too high two types of action are possible, the safest one being the one that avoids working on the top surface.
1° Lowering the block by working on the body only
|
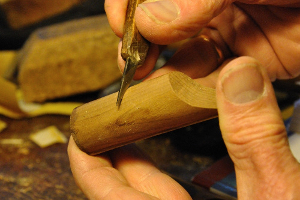
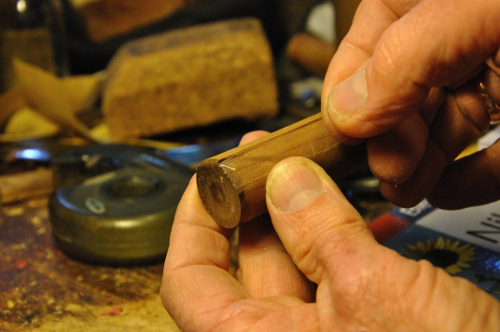
First remove a little wood from underneath, so that it can rest lower. This can be done by scraping with a knife or scraper, or by filing. |
| If this is not enough the block can be forced downwards by sticking some tape on each of the shoulders. as shown here. |
|
2° Making the block lower by working on the top surface
|
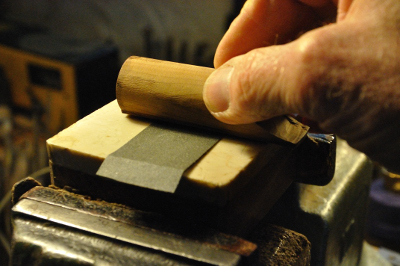
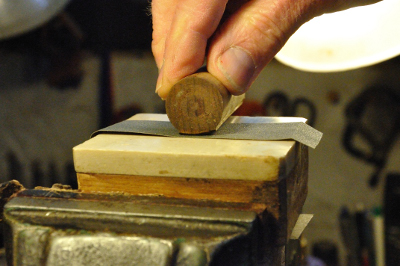
Place a strip of fine abrasive paper (320 grain), whose width is equal to half the length of the block or less, on a perfectly flat surface. Hold the block upside down and rub it lengthwise from one end to the other on the paper. The effect will be greater on the middle of the block than on the ends, and this will preserve its concave profile. Rock the block from one side to the other to keep the lateral curvature. Progress should be checked constantly by replacing the block and checking both its height and curvature, which should remain identical to that of the labium, under which only a thin stream of light should be visible. Do not modify the chamfer under any circumstance. Finish the surface with a finer grade of paper (400, 600). |
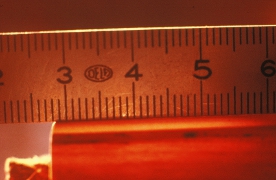
| To check the concavity place a ruler on the top surface and look towards a light source. The ruler should only be in contact at both ends. |
|
The top of the block must never be convex  otherwise the air stream connot be correctly focused. If this happens it should be corrected by filing or scraping as shown below.
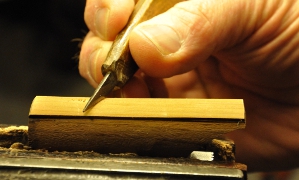
|
|
How to raise a block that is too low
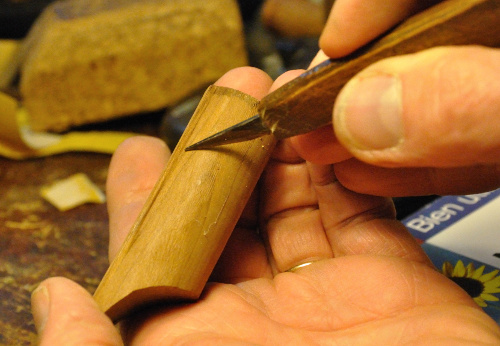
| 1° Scrape or file away a little wood on each of the shoulders, using a knife, a scraper or a file. This will enable it to sit higher. |
|
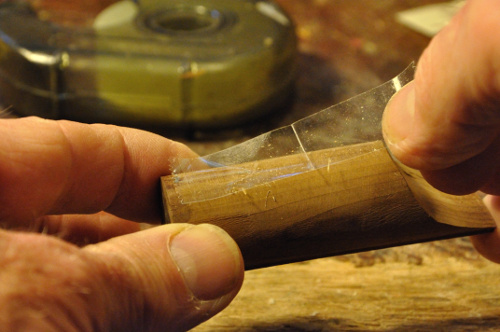
| 2° Stick one or more layers of adhesive tape under the block to push it up. |
|
Beware
The actions described above must only be undertaken by players who have aquired sufficient experience, because there is always some risk for the instrument.
Any mistake can lead to loss of sound quality. In case of any doubt about this have the work done by a specialist