PHILIPPE BOLTON
HANDMADE RECORDERS & FLAGEOLETS
MAKING A RECORDER
The beginning
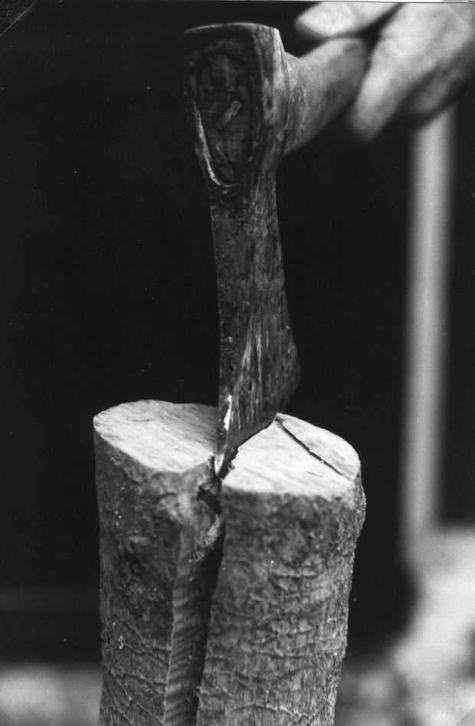
After 15 to 20 years seasoning, sometimes even more, the boxwood logs are first split to follow the direction of the wood fibres.
Other woods with larger sections are sawn into squares.
|
|
|
|
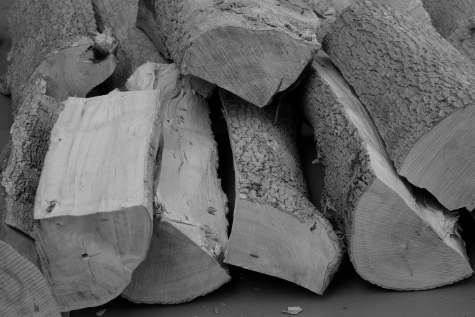
Quartered pieces of boxwood ready for roughing down.
|
|
|
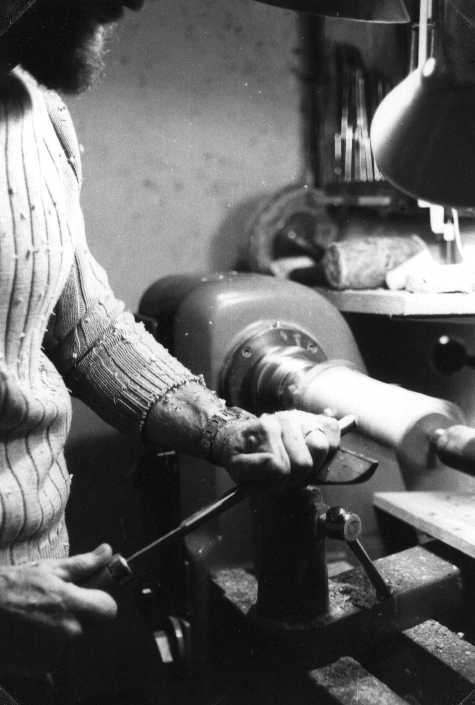
Roughing down the pieces of wood
Each piece of wood is turned to a cylinder on the lathe
|
|
|
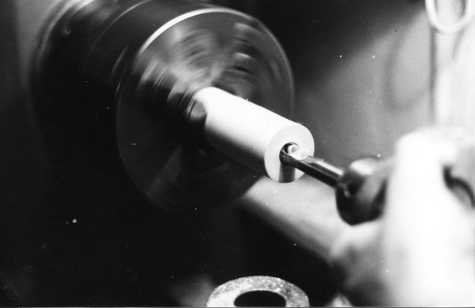
Boring the instrument
Spoon drills are used for this operation which is carried out on the lathe For better centering,the piece of wood is made to turn instead of the tool.
Click here for a video showing how the recorder is bored.
|
|
|
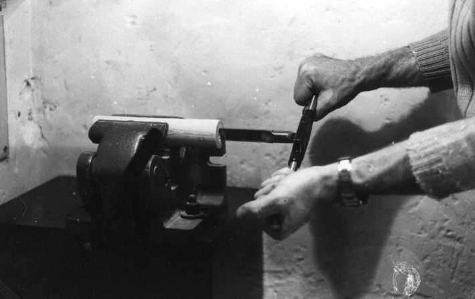
Reaming the bore
Each reamer is made to measure for one specific part of the bore, to which it gives its final shape and measurements.
Click here for a video showing the reaming of the bore.
|
|
|
The reaming can also be done on the lathe
Note the conical shape of this reamer, corresponding to the inside profile of the bore.
|
|

|
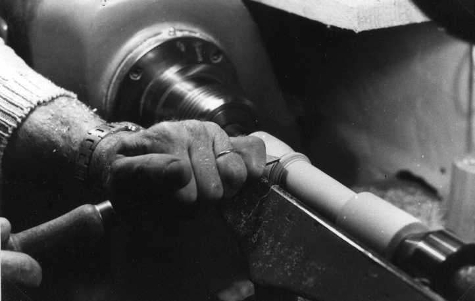
Turning the instrument
In order to ensure perfect concentricity, the instrument is fixed on the lathe by its bore. The turning is done by hand.
Click here for a video showing how the instrument is turned. There is a second one here.
|
|
|
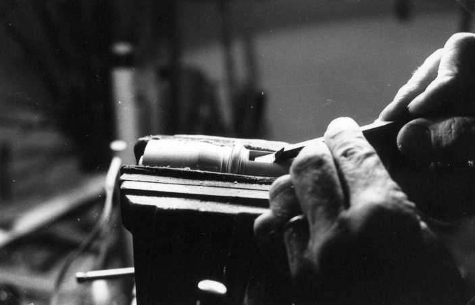
Cutting the windway
The windway is cut with great precision using this small hand-operated machine.
Click here for a video showing the the windway being cut.
|
|
|
Cutting the labium or lip
The labium is cut with a chisel.
Click here for a video showing the labium being cut.
|
|

|
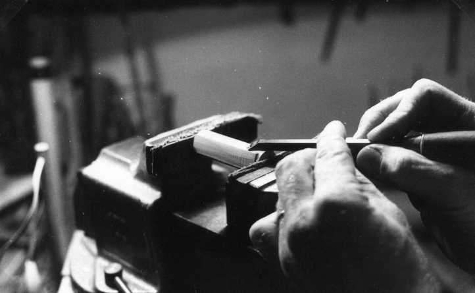
Making and fitting the block or fipple
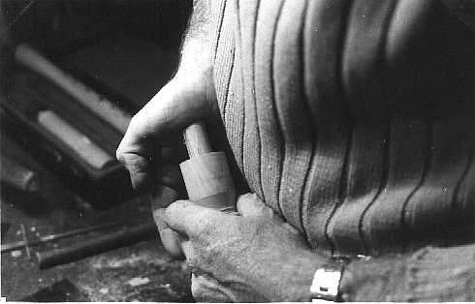
The block is carved and fitted by hand.
1° Making the block out of juniper or cedar
Click here for a video showing the the making of the block.
|
|
|
|
2° Fitting the block into the head of the instrument
|
|
|
Boring the holes
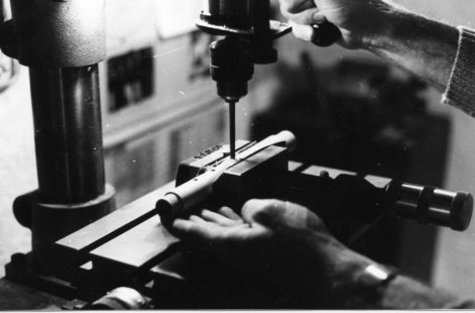
The holes are bored undersize, so that the instrument can be tuned later on.
Click here ici for a video showing the positioning and boring of the holes.
|
|
|
The thread joints
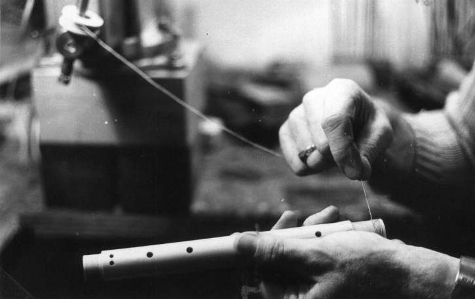
The layer of thread makes the instrument airtight.
|
|
|
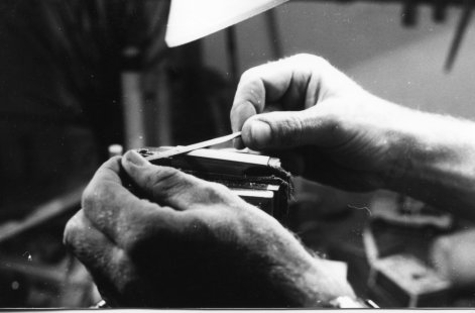
Voicing the recorder
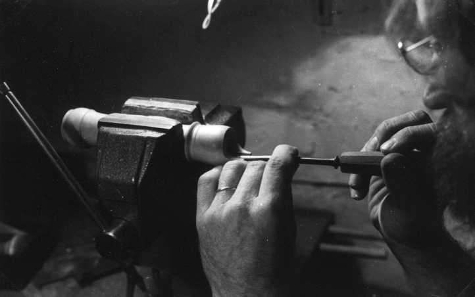
This is a very long and meticulous operation requiring great precision in the windway and on the block
1° Working in the windway
|
|
|
|
2° Working on the block
|
|
|
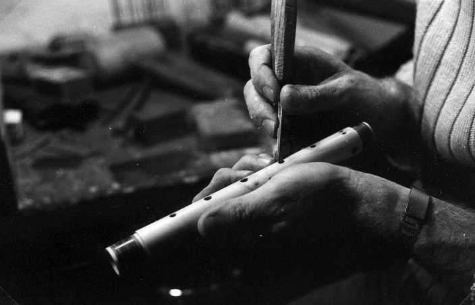
Tuning the recorder
The holes are enlarged and undercut by hand until all the notes are in tune.
Click here for a video showing how each hole is worked on.
|
|
|
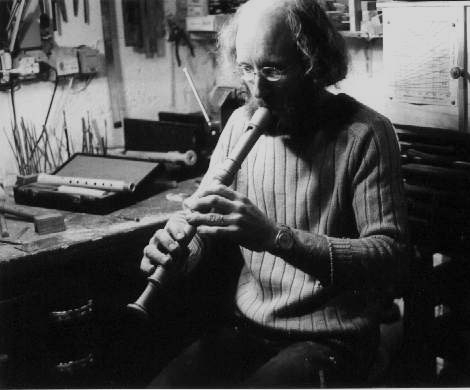
Testing and playing in the finished recorder.
The recorder is played for several hours to ensure that it is stable in normal playing conditions
|
|
|


